10:45 on a Saturday night. I’m resting on the couch, the dying embers of once hot fire glow nearby – the residual warmth of the fireplace filling the room. The Christmas tree is lit and the holiday decorations are up. The credits roll on the television… and I peek out the window…
It’s snowing…
The forecasters have been calling for this – and it is December after all. So I don a pair of flip flops and step out into the 20 degree winter air, throw open the garage door, and grab a piece of glass to test the snow crystals. They look good, so it’s time to get to work.
I’ve been preparing for this for a while. The tripod with macro rails, bellows, and extension tubes, has sat on the table in the garage all year. A few weeks ago I cleaned up the table, and just this day I washed up the glass squares, bought a bit of blue plastic (a report cover) and mounted the lens on the end of the extension setup. Not much to do now – I gather together the flash, ttl cords, and *ist-D camera, and head out into the cold.
Ultimately, the snow disappoints. In the course of a couple of hours the crystals range from small, well formed but irregular; to huge, half inch specimens; to puffy bits of sleety powder. But it was a good session still – though none of the shots are first rate, the system is in place. Come the next snow, I’m ready to just start shooting.
Here is a photo of the snow crystal photography rig that I use. Not high tech at all.
In a nutshell, you have a small tabletop tripod, a set of macro focusing rails mounted on that, and a bellows set mounted to the rails. Extension tubes snap onto the bellows. The setup in the photo was for the huge, half inch crystals, so the bellows are scrunched down and the unused tubes are on the table. For smaller crystals the bellows would be fully extended and more tubes (many times what is shown) would be added.
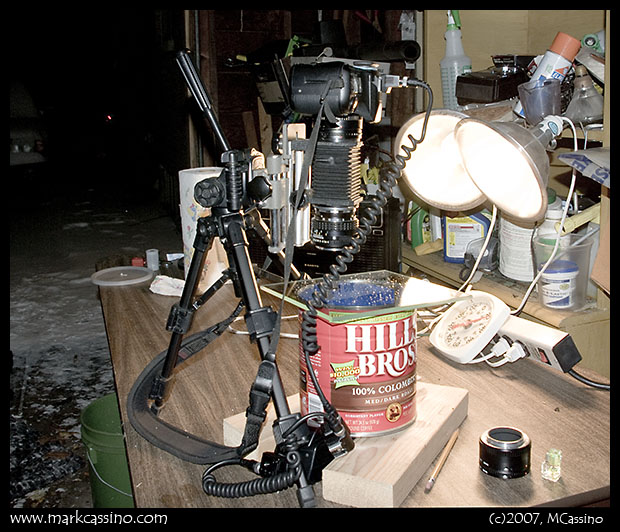
On one end of the tubes/bellows is the digital SLR – a Pentax *ist-D in this case. At the other end of the tube is the optic – a Pentax M Series 50mm f4 macro. It is a bit slow, but the lens is devilishly sharp.
A flash is hooked up to the camera via TTL cables. The flash lays on the table pointing up into the coffee can. The lid to the can is inside it, acting as a diffuser. A piece of blue plastic is repositioned to change the coloring of each shot. It’s not visible, but in the photo above it is just pressed against the side of the can. The two-by-fours hold the can up enough for the flash to be snuck under it.
The camera is just set to manual mode. Shutter speed is 1/125, aperture is manually stopped down to f11 to f22. TTL flash takes care of the exposure.
Snow crystals are caught on the glass plates (look closely, you can see them) – the cool fluorescent lights make everything bright enough to focus the images. On the table is the level that’s used to line things up – the glass plate and the film plane in the camera. You could spend a lot of time trying to find a level table, but it’s all relative so I let everything be tilted, just tilted in harmony.
While this is not a very high tech system, it is a far cry from my first snow crystal setup which was built around a Pentax Spotmatic and manual flash - with exposure controlled by adjusting the flash to subject distance. Some fun back in the film days, lo some 8 or 9 years ago. The snow is in the air, outside, far left of this image… And that’s it… let’s hope for more snow, and more snow crystal shots.
Additional Notes, February 2016:
I still refer people to this post when they ask about my snow crystal setup, so here’s an update regarding some advancements in the process.
Manual flash vs TTL: Newer Pentax bodies no longer support TTL flash when using a reverse mounted lens - the newer P-TTL system requires the lens to be mounted and communicating with the camera body. I now use manual mode and just do a few test exposures to determine the correct setting for the lens.
Aperture: These days I only stop down to f5.6 or sometimes f8 to avoid the effects of diffraction. Back in 2007 I was stopping down too much, chasing depth of field but also getting softness in the images.
Shutter Speed: Shutter speed is set to X-Sync, which is the fastest speed that will work with flash. This setup is gangley and prone to vibrations, so I prefer to work at night and drop a piece of black foam core in front of the two lights that are there to help with focusing. I use an IR remote on the 3 second delay to minimize vibrations. That plus lighting the subjec tonly with flash minimizes motion blur.
Focus stacking: With a more open aperture and less depth of field I sometimes use focus stacking but that is the exception - the crystals are pretty flat as it is.
Lighting: I no longer use a diffuser on the flash and now use one or more lenses from colored LED lights to add color to the images.
The camera, lens and flash unit have been continuously updated updated over the years, but otherwise, the basic setup shown above is still in use. I’m using the exact same tripod, bellows, extension tubes tubes and coffee can. This rig actually dates back to circa 2000, when I was shooting snowflakes on slide film.
The biggest challenge remains finding well formed snowflakes. That, and staying warm!
Click here for a gallery of my 100 best snowflake photos.
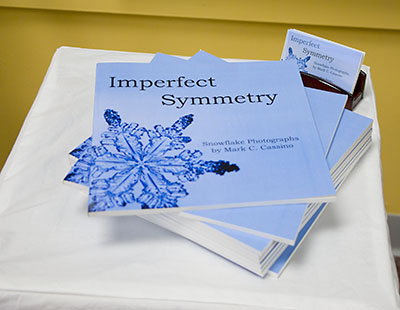 There were a lot of requests for and comments about B&W photography – I think more than in past years. Maybe it’s a backlash against the omnipresent digital color work out there. Maybe it’s just the luck of the draw with regards to the people I chatted with. Either way, it gets me more fired up to get out and shoot some B&W film. Heck, I may even go back and look at the several hundred B&W exposures I shot last summer and fall, but so far have done nothing with…
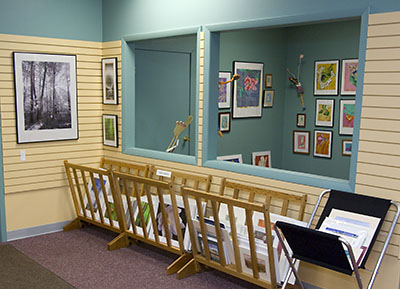
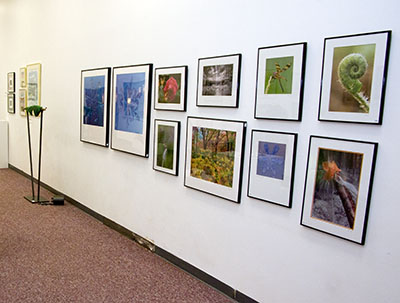
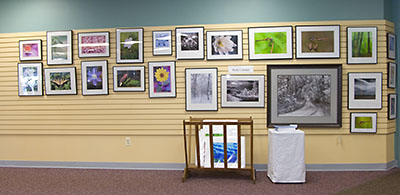 Signature is a cooperative of Michigan based artists working in almost all media. We meet throughout the year to work on collaborative projects, critique works, and join in group shows. The Signature gallery is an annual tradition, now in its 27th year, of operating a storefront gallery during the holiday season.