A Primer on Insect Photography
Several years ago I added a tutorial on insect photography to this website. Now, with the addition of this blog, it’s time for an updated version. Some things have changed in the past few years – for one thing I now photograph virtually all insect shots using a digital SLR, and for another improvements in TTL flash technology have simplified many aspects of the process. On the other hand, some things haven’t changed – I still use the same basic steup, the same flash bracket (though I have experimented with others) and the same lens. So here is a quick overview of the process I use to photograph insects in the field:
Mark’s Setup
Here’s a photo of my current insect photography setup:
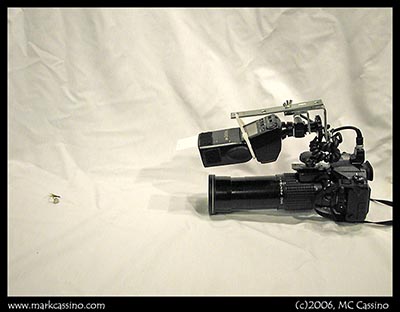
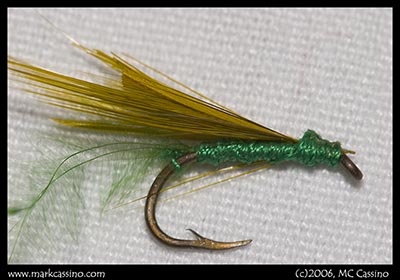
The camera is a 6 megapixel Pentax *ist-D digital SLR. The lens is the optically outstanding manual focus Pentax 200mm f4 macro. The flash bracket is mounted on the lens’s tripod mount, which have be flip around so that the mounting plate is on the top of the lens. The flash is the Pentax AF360FGZ, hooked up to the camera with standard issue cables. To put things in perspective, I’ve included a small fishing fly in the shot, to represent the subject. The fishing fly is about one foot from the front the lens, and is at the closest point of focus for this lens. To clarify the scale a little more, here’s a full frame shot of the fly at maximum magnification:
And here is a shot with a snippet of a tape measure included:
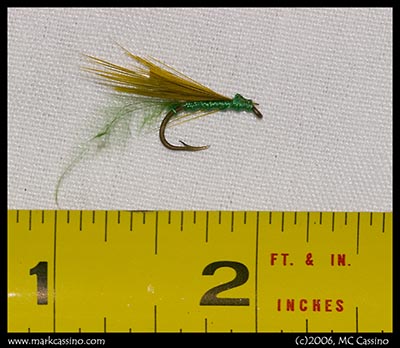
As you can see, this setup easily focuses down to about 1 in along the long dimension of the frame – good enough to capture even fairly small insects. The working distance increases considerably as the camera is focused on larger subjects, with the result that for large butterflies or dragonflies the working distance is several feet. You have to look closely in the image, but I use a bounce card on the flash (in this shot the flash’s built in bounce card is deployed, I usually use a larger one, assuming I remember to bring it with me.) The flash in actually positioned to discharge above the subject, which throws light behind it and helps illuminate near background elements. This also helps to hide the subject’s shadow, by placing the shadow behind the insect. The bounce card pushes some light down onto the subject that is both directional and diffuse – which helps soften contrast and shadow, but also helps bring out surface detail on the insect.
The one component not shown in this shot is the monopod that I now regularly use for all insect photography. It’s just a lightweight SILK monopod – sufficient to jab into the ground and get a more steady shot with. This setup is essentially the same as the film based setup discussed in the earlier essay. But, going digital has introduced some changes that can’t be shown in a photo.
Specifically –
• The excellent acutance of digital compared to film has resulted in my use of the monopod. It’s amazing that for years I got seemingly sharp shots on film just hand holding the camera. With digital, I get a ghost image if the camera isn’t rock steady – hence the monopod.
• The lowest ISO setting for the *ist-D is ISO 200, and I routinely shoot at ISO 400 with no ill effect. There just isn’t noticeable digital noise until ISO 800 or higher. Combined with the enhance flash system – that now synchs at any speed up to 1/6000th of a second – its much easier to balance the ambient light with the flash and still maintain a high shutter speed to freeze the action and minimize the effects of hand holding the camera. I very often shoot at 1/500th or even 1/750th of a second, at f16, ISO 400.
• The digital ‘crop factor’ results in more reach and more apparent magnification. The crop factor is the result of the digital sensor being smaller than the 35mm film frame it replaces. The 200mm lens on the *ist-D functions like a 300mm lens on a 35mm camera. The added reach and apparent magnification is nice, but the narrow angle of view, which allows better control over the background, is the real boon.
• I shoot in RAW mode exclusively. The ability to tweak color balance, sharpness, contrast, and saturation on a per-shot basis is invaluable. This basic setup will work for the vast majority of insect close-ups, since it allows for full frame shots of insects from 1 inch in size and larger. To get closer, I add a teleconverter to the lens. The teleconverter is paired to the lens. The front element of the teleconverter actually extends up into the lens to press against the rear element. Since the two optics are designed to integrate and work together, the optical quality is excellent
Field Techniques
That’s the basic rig that I use. Here’s how it is used in the field. Of course, the key thing is getting out into the field and finding the subjects. Insects can be unpredictable – at least for me – so its a good idea to scout out several locations, representing different types of terrain and habitat. If one place comes up dry, you can move on to another, different location and hopefully have better results. Unlike a lot of nature photography, you don’t have to be an early bird to get good insect shots. Different species are active at different times of the day. The morning can be a good time to get dew covered subjects – dragonflies, bees, or spider webs – but even on the hottest summer activity insects are active. In my experience, insect activity tends to peak from mid morning to early afternoon, and then drops off a bit during the hottest part of the day (though several species remain active even then.) Things then pick up again in late afternoon and early evening. As with virtually all photography, the lighting of the subject is what distinguishes a good shot from a great shot.
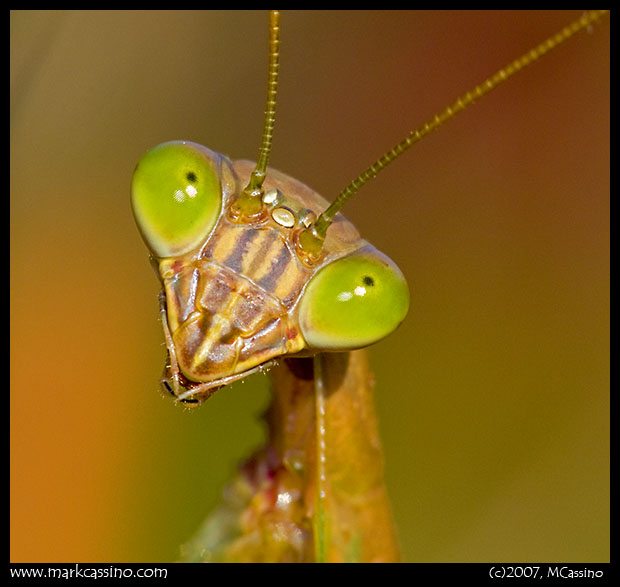
Using the setup shown above, the subject is lit primarily by the flash. Having a camera system with an accurate TTL flash setup really simplifies things. Here are a few tips for lighting:
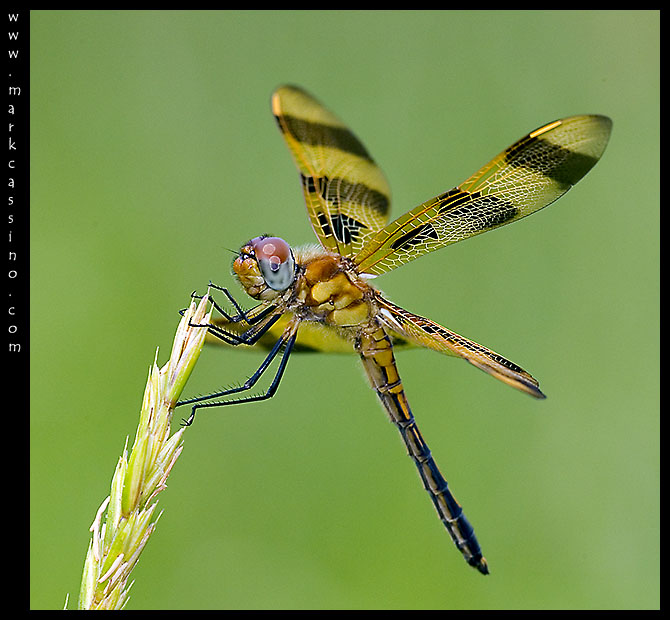
• The ambient light needs to be balanced with the light from the flash. It’s important to realize that the insect is primarily lit by the flash – and that the flash is not being used only for fill. If you look closely at many of the insect photos – like this one: (Winged Wonder) You’ll see two highlights in the bug’s eyes. The top one is the sun, the bottom is the flash. I think that helps clarify how the two light sources interact.
• I leave the flash set to no compensation, and manually set the camera’s meter to be one stop under exposed. When the background is far away, it will drop down a zone in exposure (the flash won’t illuminate it). The insect is lit at the correct exposure, and so it ‘pops’ a bit in the photo – it’s just a little brighter than the background.
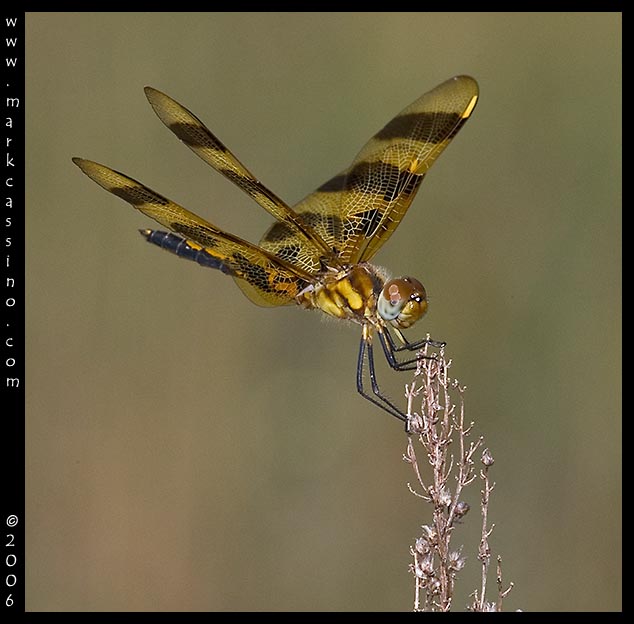
Here’s how this works out in practical terms: Lets saw the subject is a dragonfly lit by direct sunlight. The camera is set to ISO 400. The ‘sunny 16’ rule suggests that the correct exposure for the ambient light is 1/350th of a second at f 16. I often shoot at f16, for the depth of field. So in this case I’d set the camera to f16 and 1/750th of a second, and then rely on the flash to fully illuminate the insect in the image. The result is the “pop” effect mentioned above. This image is a good example of what I mean by that: Depth of field is a real challenge with any type of close up photography. Depth of field refers to the area that is in focus, or sharp, in an image. The more you magnify something, the less depth of field there is. The get more depth of field, the lens has to be stopped down. I routinely shoot at f 11 or even f16, depending on how big the subject is and how the background is working in the shot. However - stopping down too mcuh will degrade sharpness due to diffraction, so so if possible work at f8 to 11, f16 at a maximum.
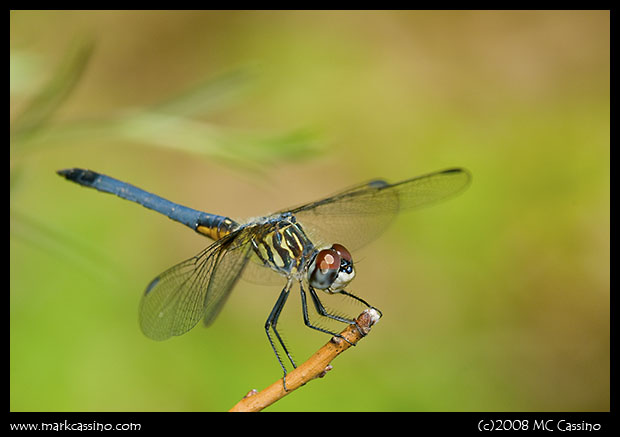
It's also important to regularly use the depth of field preview function on your camera to assess how the background will look in the final shot. While this won't tell you precisely what will be in focus, you can spot distractions in the background and correct them if possible. Controlling the background is another challenge. As with most photos, a clean and uncluttered background can really contribute to the quality of the shot. Of course, you can’t always control what kind of background you can get, but getting the right background can mean the difference between a strong aesthetic image and one that is just a specimen shot. The ideal background isn’t just a blank green blur, but also include some elements that contribute to the shot.
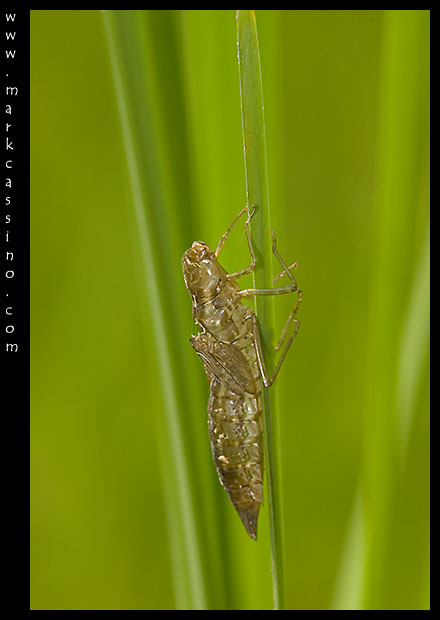
Although the lens I use is manual focus, in a way I use autofocus for most of these shots. Pentax cameras support ‘tap focus’ with manual focus lens. In this mode, the lens is manually focused but the camera doesn’t fire until the autofocus sensor reads that things are in focus. With this technique you can just set the lens to the desired magnification and move in slowly, letting the shutter trip when the subject comes into focus. It doesn’t always work, and a quick flip to manual focus mode is often needed. I don’t use an autofocus setup, but I would expect a good autofocus setup to work well with insect close-ups. When it all comes together, it’s possible to get some interesting and even beautiful images of some of nature’s most interesting creatures. Aside from just straight close-ups of insects, shots that incorporate wild flowers or other elements can be the most compelling.
Alternative Setups:
The setup I described above is what I use for shooting insect shots. But there are lots of other alternatives. For a person jest getting started with insect photography, deciding what lens to use is significant question. A macro lens is the obvious solution, but the drawback is that they are relatively expensive, especially in the 180 to 200mm focal length. A 100mm macro is also a very effective focal length, and on a digital SLR where the ‘crop factor’ is present, a 100 mm macro gives you a very good working range at a good price. This would definitely be an option worth considering . Under any circumstance, I would not recommend a 50mm macro for insects – there is just not enough working room. When selecting a macro lens, be sure to get one that focuses down to life sized – 1:1 magnification. Some lenses only go to half life sized, and may not support shooting small subjects - like this fly.
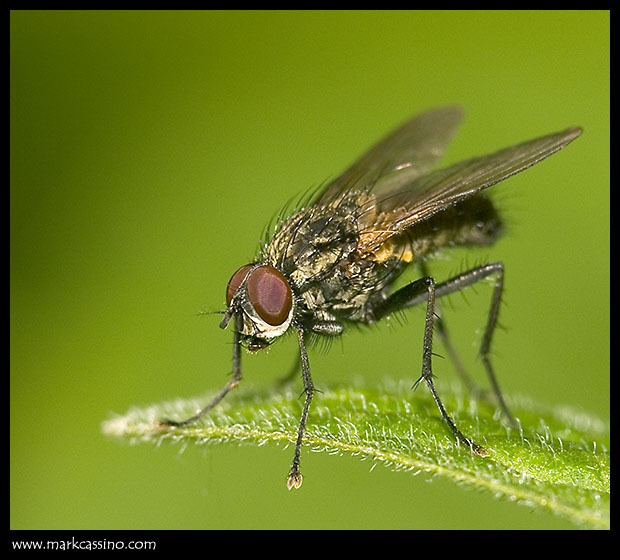
Other than a macro lens, here are some other ways of getting high magnification, using a regular telephoto or even zoom lens:
• Close-up diopters: These are like filters that screw onto the front of the lens and enable it to focus more closely. Inexpensive close-up filters are available, but generally will not meet stringent quality standards. High quality, multi-element close up filters are also available – but at a significant price point. One advantage of close up filters is that they don’t affect exposure – both extension tubes and teleconverters (discussed below) affect the amount of light reaching the camera. While this isn't a big deal - the camera meter sould adjust for the light loss - it does make it harder to balance the ambient light to the flash while maintaining a worakble shutter speed. Close up filters are the best choice for getting close with a zoom lens.
• Extension Tubes: These basically are empty tubes that fit between the lens and the camera. The further the lens is from the camera, the closer you can focus. Since no optics are involved, extension tubes do not introduce any optical distortion (though the increase magnification may exaggerate existing distortions in your lenses.) Extension tubes can be a good option for prime (fixed focal length) lenses. One drawback with tubes is that the further out the lens is extended, the less rhe light that reaches the camera. The camera’s meter will automatically adjust for this, but you can loose up to a full stop in effective speed with tubes attached. (The same speed loss can also affect macro lenses, that may focus close through built in extension.)
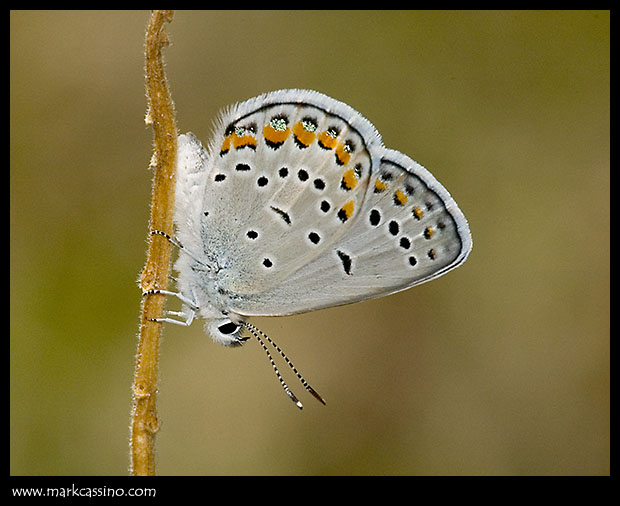
• Teleconverters are a third option. Both close up filters and extension tubes have the drawback of not allowing the lens to focus to infinity, so you are locked into shooting close ups while they are in place. A teleconverter fits between the camera and lens, and basically magnifies the center of the image. They allow you to focus closer, while still letting you focus to infinity. The drawbacks of teleconverters is that they can be expensive and also impact exposure, similar to extension tubes. Because teleconverters are themselves another lens, adding one to your existing lens can introduce more optical distortions. I use teleconverters specifically designed for use with my macro lens. Using a teleconverter designed for your lens is the best option. Otherwise, its something of a crap shoot in terms how a given converter will work with a particular lens.
Once you have a lens that lets you get up close, the next step is to put together a flash bracket to work with it. There are few opportunities for constructing do-it-yourself photographic equipment. The macro flash bracket is one exception to this. You can buy macro flash brackets, modify standard brackets, or jus cobble together a bracket out of stuff from the hardware store. The bracket I use was make from a few corner braces and metal rods put together with simple nuts and bolts. That covers the basics of photographing insects. There are many ways to do it, and finding the way that works best for your gear and style of shooting is part of the fun. If you have any questions, feel free to email me. To see more photos, please visit the Insect Gallery or Dragonfly Gallery.


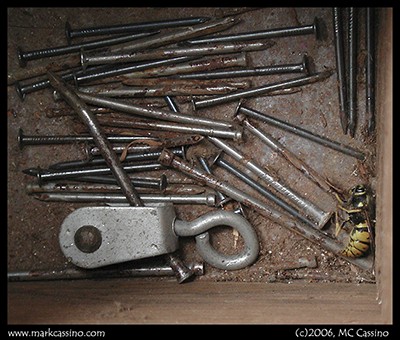 All of the close-ups are found object still life images. “Still life with Nails And Paper Wasp” just popped before my eyes as I dropped a wooden drawer full of nails and bits and bobs of other hardware into the back of my car. No arrangement of the nails was needed – I guess things like that just confirm the impeccable order of the universe. As


