 The Skink and I made eye contact simultaneously. We contemplated each other for a split second, and it spooked and ran down behind the rock on which it had been sunning itself. But it was a soft spook – a second later a curious head popped back up from behind the rock, and I took this as a cue to step back.
I was standing on the gravel trail that borders Swan Creek, in the Allegan Forest, near the small dam where the creek dumps into the Kalamazoo River. The trail is just a levee - 30 feet of dry earth separating the creek on one side from a marsh on the other. You’d think it would be a great hunting ground for dragonflies, and for a few short weeks in the spring it is. But it doesn’t offer enough food for the winged predators, and so as the season advances they move on to the nearby fields and hills.
Nonetheless, this trail is a regular stop in my visits to the Allegan Forest. It’s a pain to work it – it’s a popular party spot and broken glass is mingled in with the rough gravel dumped onto the levee – combined with an abundance of poison ivy – makes it a tough place to get down to eye level with low perching insects. But still I return – did I mention that the creek is breathtakingly beautiful here, and it’s the only spot I’ve ever seen otters in the wild?
Five minutes. When you spook a target, wait 5 minutes out of sight and then return. I stood on the trail leaning against the monopod, waiting for the clock to tick out.
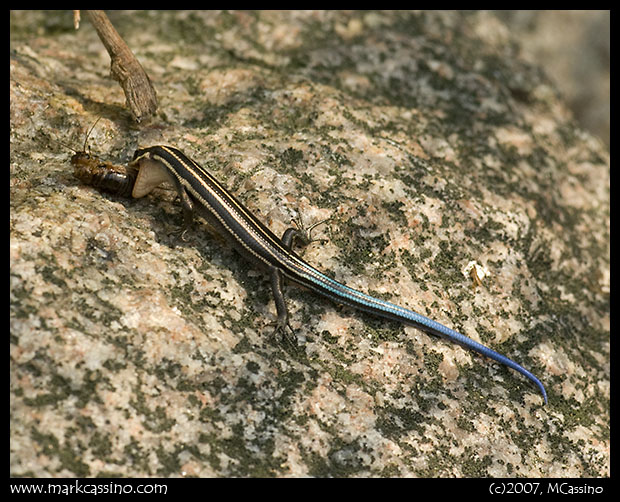
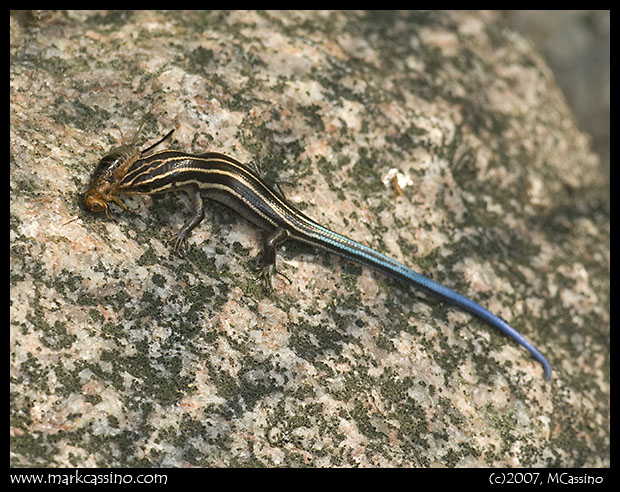
When the time was up I returned to search for the skink. There it was, close to the spot where I first saw it, and it was fighting a mighty battle with a cricket almost a quarter of its size. The lizard had pulled most of the cricket’s legs off, but was till having a hard time keeping it under control. It was intent on a huge meal, so I slipped in and started photographing.
The lizard was young - the bright bands and blue tail will fade as it gets older. Or so I read in books. Truth be told, I’ve never seen a skink that didn’t have a blue tail. But while folks in southern climates may be used to seeing lizards - the skink is one of the few wild lizards found in Michigan.
At first, I was cautious. The stakes were higher – not only did I not want to lose the lizard, but I also did not want to cost it a meal. So I set up about a yard away and shot through the vegetation that was growing between the subject and the camera.
Slowly, I moved closer and lower, Any competent wildlife shot is taken at eye level with the subject. I worked the front of the lens through the vegetation, and even folded back a few of the leaves that were the most in the way. It was all stealth and slow motion – 5, 10, 15 minutes passed – and every so often I got a little closer, with a little better angle on the subject.
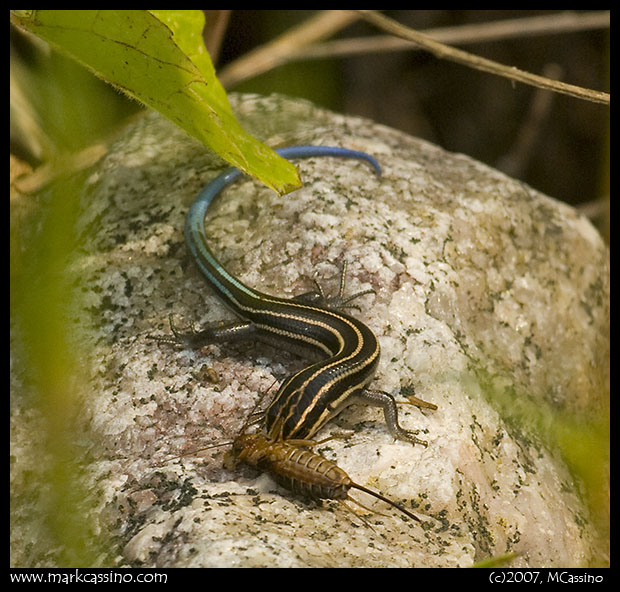
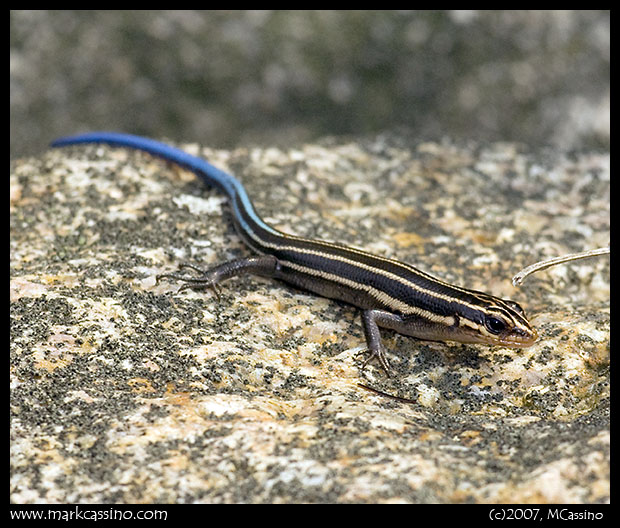
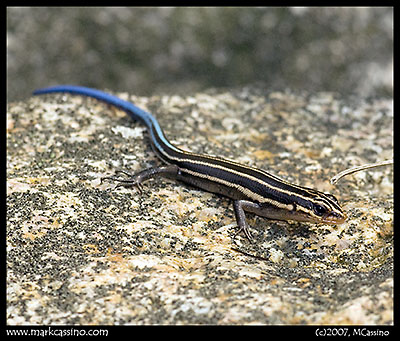
The lizard slipped behind a plant leaf, and delivered the coup de grace to the cricket. I knew that I had not gotten the shot, and disappointment teased at the corners of my mind – until the Skink returned. It moved slowly. Maybe it was sated by this enormous meal. Maybe it was having trouble breathing with a huge cricket pressing against its lungs. In any case, it gave me the chance to get the portrait I wanted.
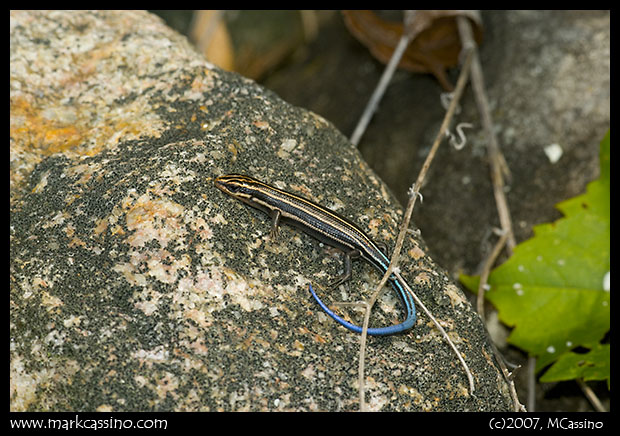
I left the blue tailed skink, laying on a rock, basking in the sun. For all I know a bird could of have slipped out of the sky and gobbled it up the moment I was over the next hill. But for me, successfully photographing a subject, and leaving it unawares of the whole event, is the epitome of wildlife photography.
I’ve wanted to get an acceptable photo of a skink ever since I first saw them in the Allegan Forest three years ago. It’s not like there’s a shortage of photos of these lizards – they are much more abundant in other parts of the country (cold Michigan is at the northern edge of their range) and they are kept in captivity and can be placed in any number of poses and faux settings for photographs. But observing skinks in the wild I realized that this was one goal that would never be achieved by active pursuit – but rather could only be obtained by waiting for, or attaining, the right time and place.
With all photography – it’s not about bagging a trophy, getting control of some “thing”, or adding something to your collection. But rather – it is about the process. About walking the same ground over and over again, about being in the moment and seeing what it holds. I have trod this ground for only a few years – I hope to tread it many more, to get some slight understanding of that place.
Here is the full sequence of photos of the Skink -

This is the first of a series of photographs of a juvenile five lined skink devouring a cricket. The shots start out distant and with interference - like this one - but get progressively better as I managed to get closer, lower, and more in tune with the subject. Here I’m pretty far away from the subject - almost 3 feet - and I had just spooked it a few minutes before, so I was being cautious and trying to keep some distance so as to not scare it more. The skink is engaged is a struggle with a cricket that is quite large in comparison to the lizard.

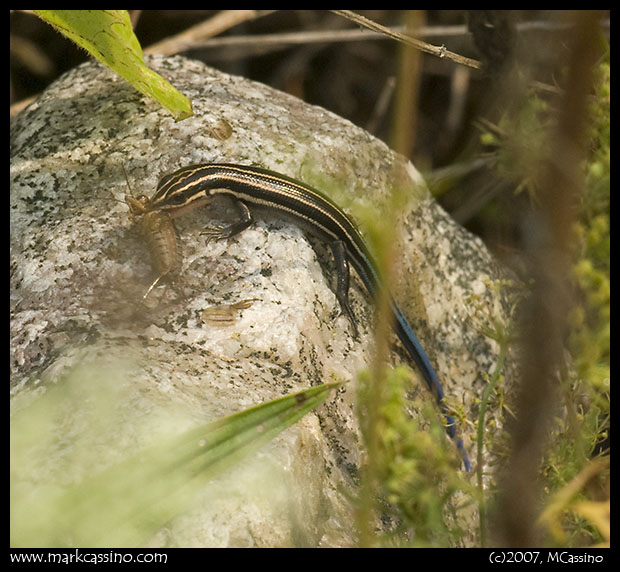
I realized that the skink was pretty preoccupied with the cricket, so I managed to push aside some of the vegetation that was getting in the way, I also managed to get lower - usually lowing down on a small subject frightens it, but this lizard was pretty distracted by its prey.

Now we’re getting somewhere - too bad its back is turned but it is busy delivering the coupe de grace to the cricket.

With the skink preoccupied with the cricket, I was able to get in lower and closer yet. We’re starting to get eye contact here, though the perspective on the subject is still too “top down” and there’s no highlight in the eye. Given the comparative size of the cricket to the skink its clear that this will be a substantial meal for the reptile.

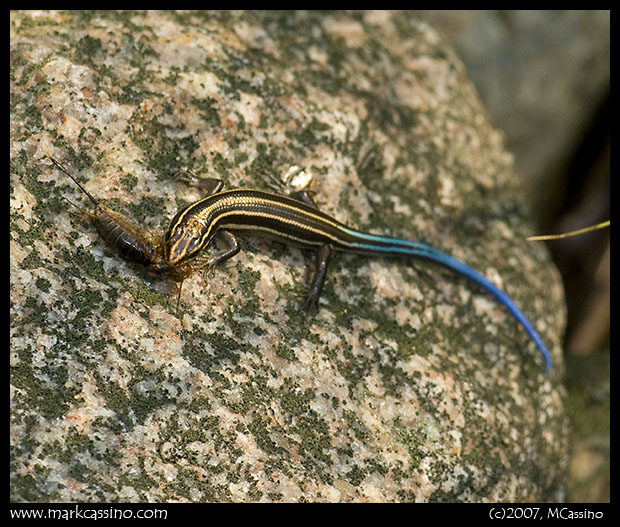
An almost acceptable photo as the lizard continues to wrestle with the cricket. I’ve managed to get closer and thread the camera in through the distracting vegetation. A little eye contact from the lizard would make this much better.

The skink moved behind a small twig, obscuring his face, while he choked down the cricket whole. He emerged a few moments later - noticeably fatter. By this time I’m laying on my belly in the gravel, broken glass, and poison ivy. But at last - he finally made eye contact and my flash even managed to coax out a slight highlight in the eye. Finally, a shot I’m pretty happy with.

Sated, the lizard moved behind a small twig, and took on a rather redolent pose.




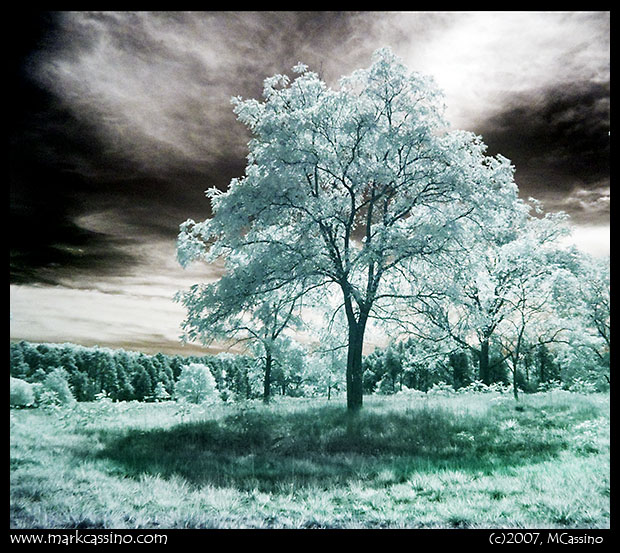
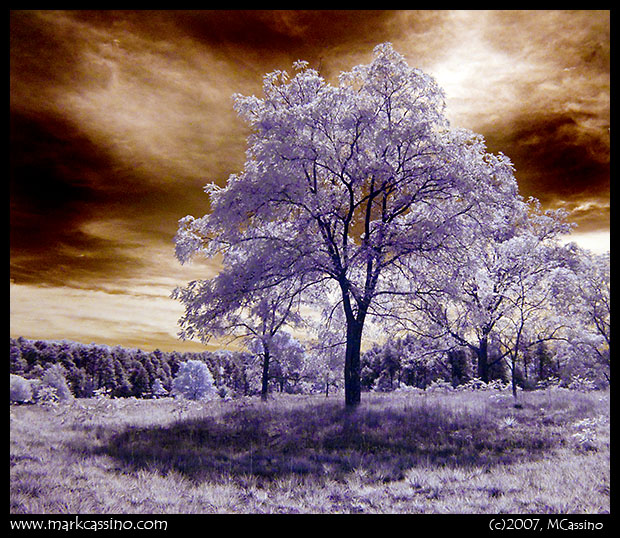
 I’ve also enclosed the two RAW files, straight off the camera with no adjustment. These pretty clearly show the difference in color, white balance, and contrast between the two filters. If you look closely at the shot taken with the RM90, you can see some sensor flare in the form of a brighter cyan band running horizontal about 20% above the bottom of the frame. (Minor flare like this can be handled by using the sponge tool in Photoshop to de-saturate the flared area and blend it back into the rest of the image.)


 The Skink and I made eye contact simultaneously. We contemplated each other for a split second, and it spooked and ran down behind the rock on which it had been sunning itself. But it was a soft spook – a second later a curious head popped back up from behind the rock, and I took this as a cue to step back.